
During my first pregnancy I wore my regular pants for a long time using the rubber band trick. Now I find myself longing for the comfort of the full belly panel even before I'm truly showing. There are lots of cute maternity jeans/pants out there... even designer versions, but I also noticed a
few DIY tutorials and thought I'd give it a try.
I had these white skinny jeans that had been really inexpensive but I hardly ever wore because I didn't really like the back pockets. They have a bit of stretch to them, so I thought they'd work well for this alteration. My favorite tutorial is on
Grosgrain, here. She gives really great step-by-step instructions with pictures.
The one thing I did differently is that instead of making my own panel, I used a "Belly Band" that I already owned. I like the thinness, the stretch and smoothing support of this over a knit folded in half... and the panel doesn't slip down like a knit might. It also makes this alteration even easier. My favorite belly panels are from
Forever21.com. Sadly they don't have them on the site as I'm posting this. They were only $7.80 each and are the most supportive, longest (covers the entire belly, not just up to the belly button leaving a line at your widest point) and definitely the most affordable ones I've found.
I think the most important step is to try on the band and the pants together before sewing, as Kathleen mentions, and make some marks where you will pin the two pieces together. You will want more of the panel in front than in back, as opposed to just attaching the band evenly. I was prepared to trash these pants if it didn't work out and was happy that it went together smoothly.


I recently saw a love/hate conversation about skinny jeans on Facebook and I had to laugh because those opposed to skinny jeans in general would certainly be appalled by my pregnant channeling of Tweedle-Dee or Tweedle-Dum here. I say to each his own. Whatever style you like, give your pregnant self the gift of being able to breathe and move without constantly hitching up your pants!

 I've been wanting to do this little project with the girls for a while now and am feeling good about finally getting around to it today. Crafting with 4 little kids can be a challenge. (As is evident in the lack of posts on this blog.) My 5 year-old especially got into it, insisting on doing all the stuffing without any help, and she stitched the openings of each arm leg and foot closed all by herself too. I think this was her first real sewing project and I was so impressed with how well she did.
 As soon as they were finished the girls got busy dressing them with clothes and accessories from their other dolls.
 I think they turned out pretty cute, and the fact that they helped make the bunnies themselves adds to the love.


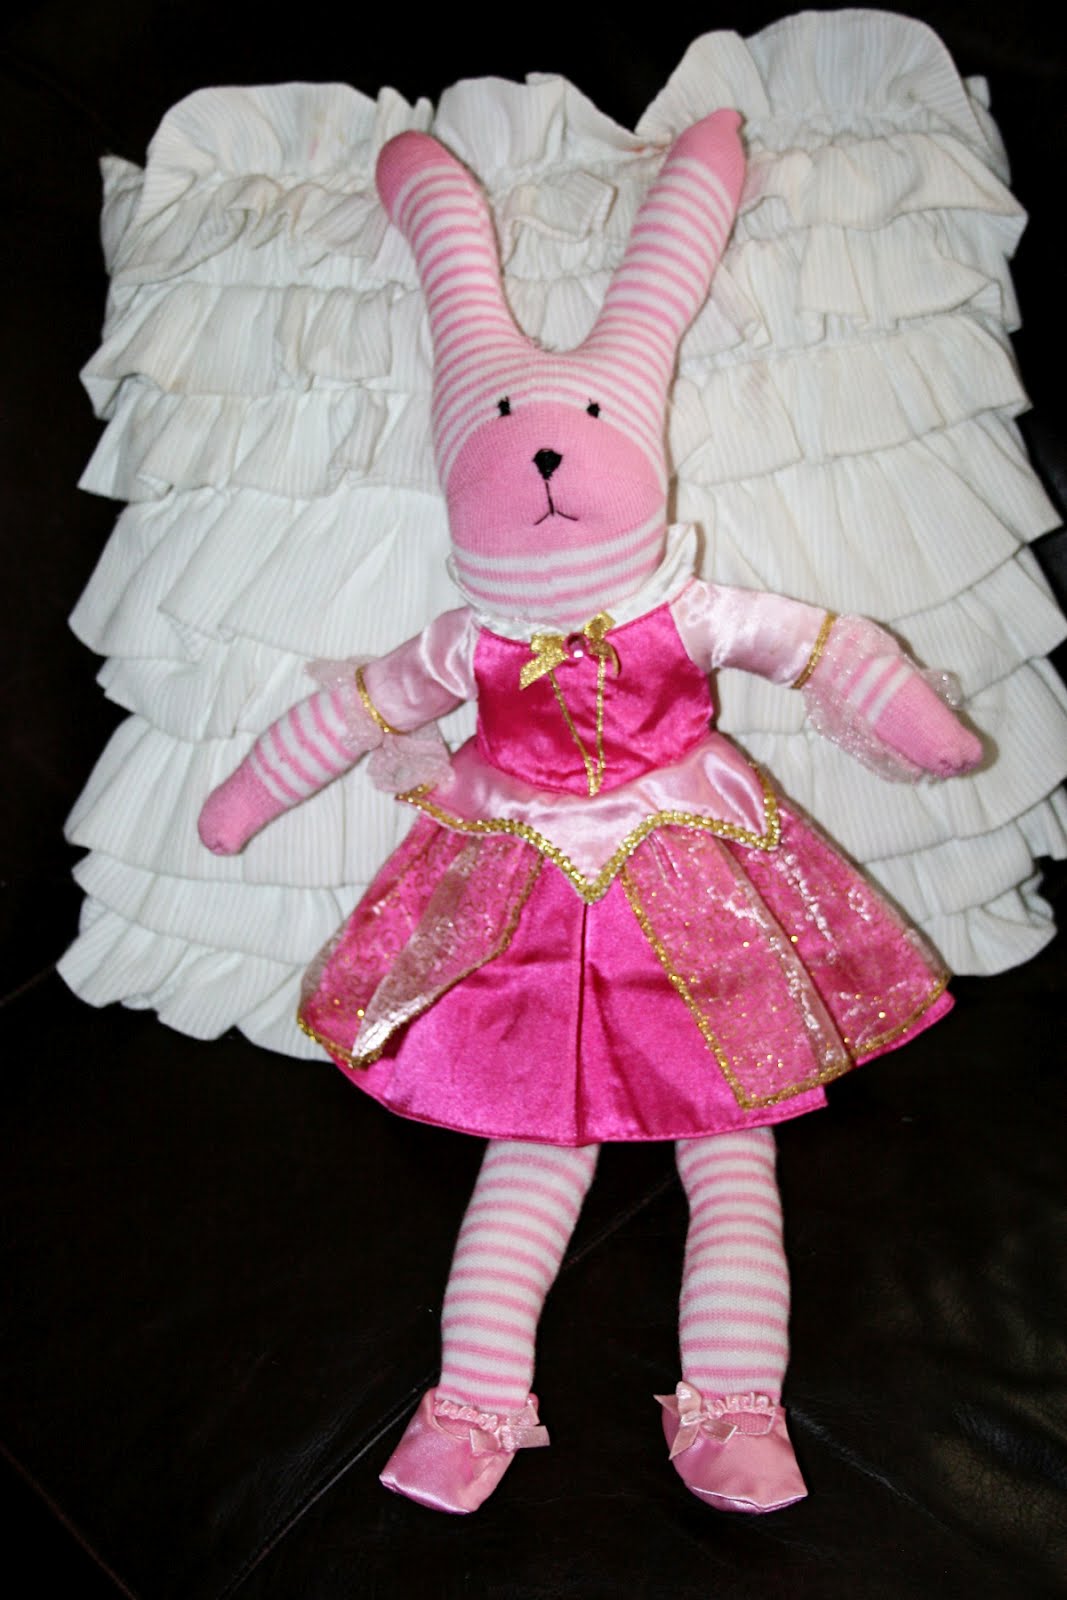 The bunnies just happen to be the perfect size to fit into our Disney princess baby doll clothes. When I saw the pink bunny in the Sleeping Beauty dress, complete with little slippers I had to take another photo.
 We followed this tutorial from Lil Blue Boo, but decided to embroider the eyes instead of using buttons. (I loved the unique look of mis-matched buttons for the eyes but the girls thought it was creepy and they insisted on eyelashes too.)


