Wednesday, June 30, 2010

Refashion: The Cropped Pant

I liked the cropped pants on this jumpsuit... how they hit just below the knee. It's a little different length than the other cropped pants/shorts I have.

I had this pair of pants below that are linen. I like how they fit at the waist and hips, but they were too short to be pants and only tied on one side so they hung funny when they were rolled up. So I chopped them off, moved the ties higher and made a casing for elastic to gather the bottom.
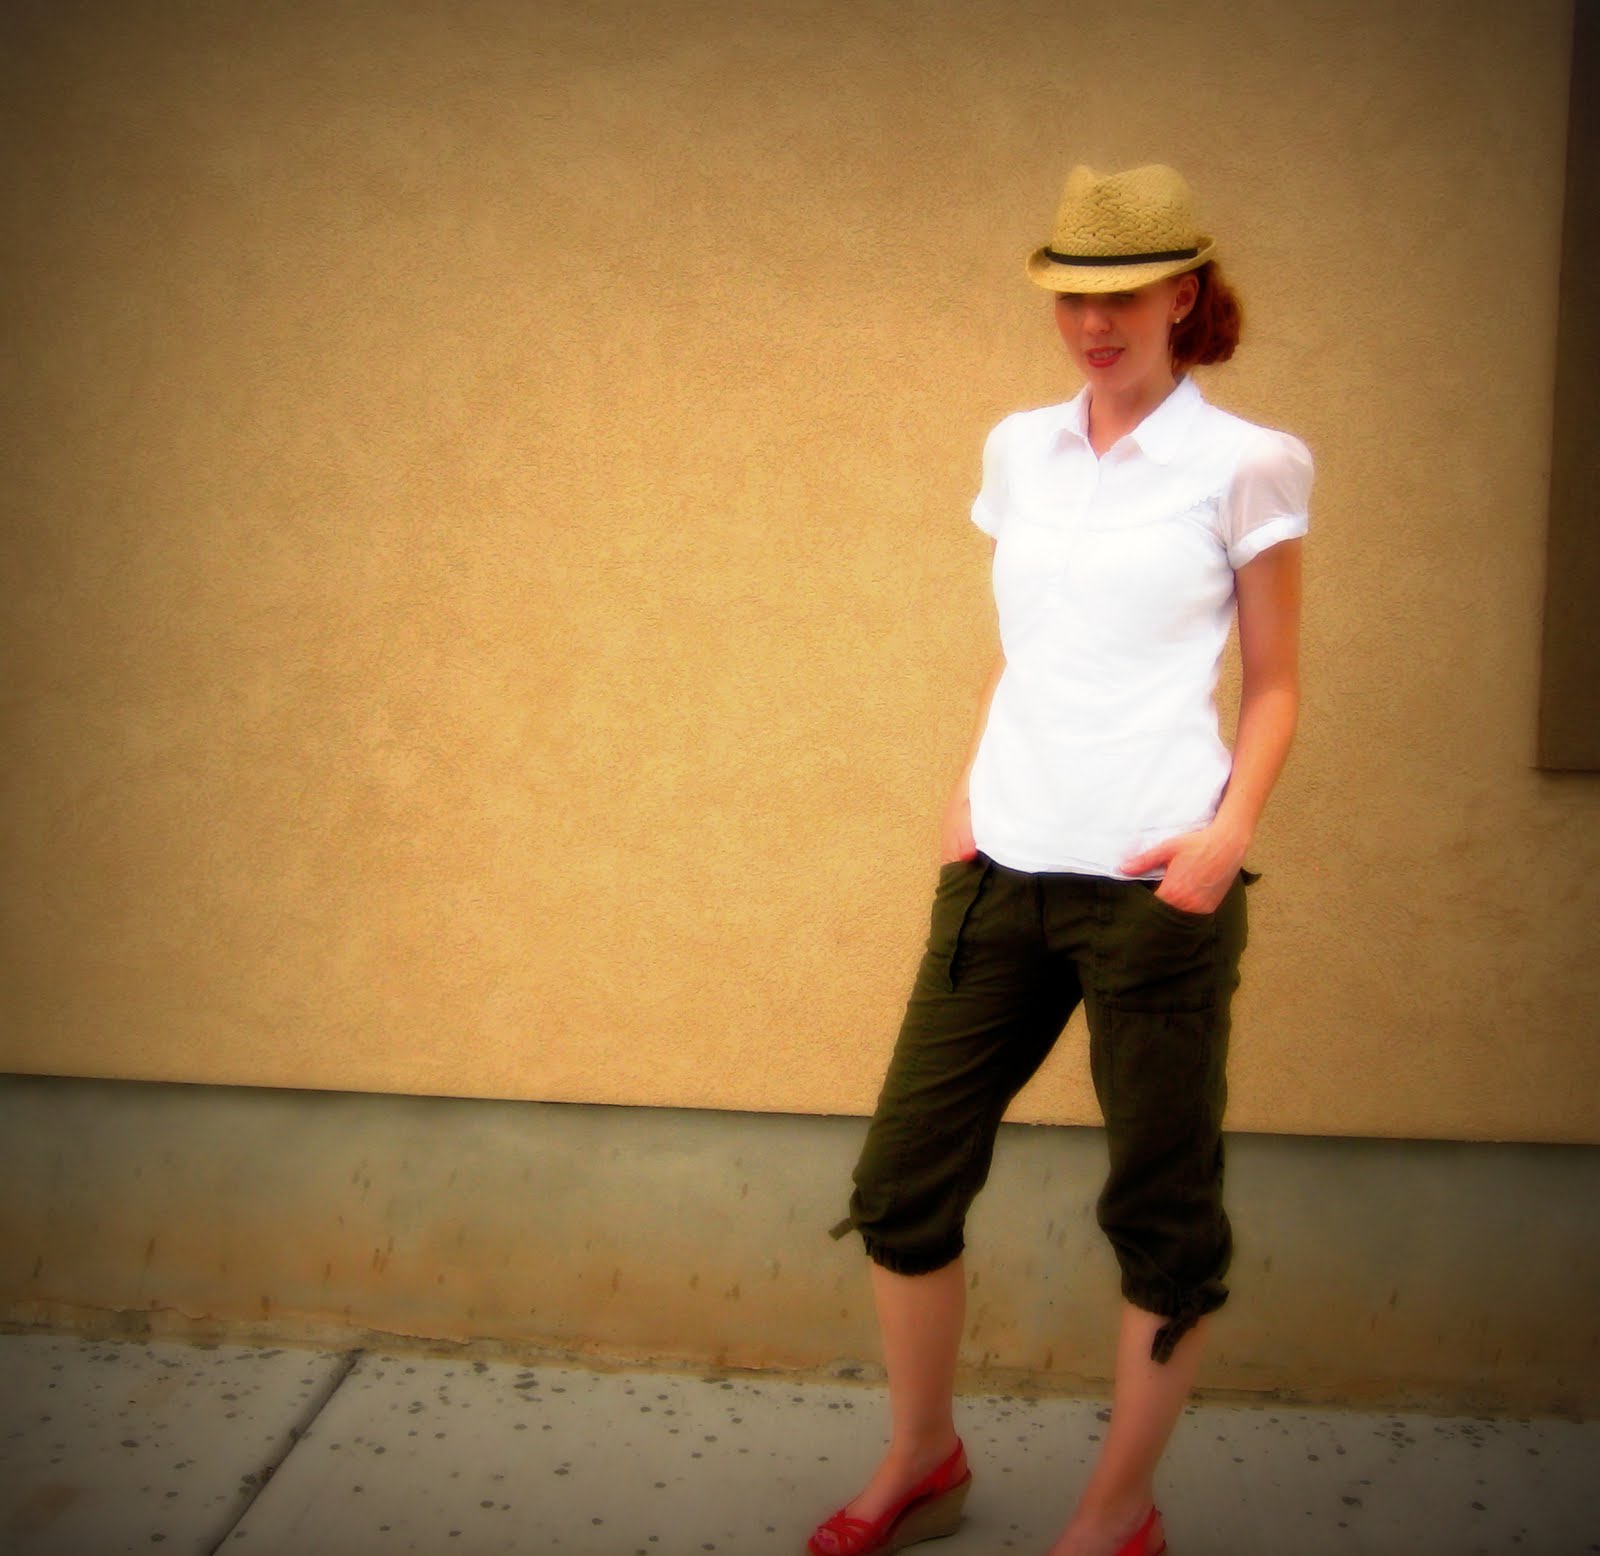
Now I might actually wear these pants again. Thanks again to my 5-year-old photographer. I actually kind of liked the unusual angles and cropping that resulted. The rain was just beginning to fall as we were taking some pics. You can see the drops on the ground. It turned into quite the summer down-pour. Mmmnnn. I love the smell of rain.

Beautiful Cause

I just read this post over at Blue Cricket Design. Cindy has an etsy shop called Button of Hope. She makes the most simple and lovely little accessories. I loved the jewelry, but more than that I love that it is for a good cause. Each item is so affordable, and yet helps someone too. 100% of the proceeds goes to The American Cancer Society. What a great way of using her talents to bless others. I had to pass the word along.

p.s. I'm adjusting to our summer schedule and having a blast with my girls. I highly recommend Toy Story III in 3D! More projects are on the way though.

Tuesday, June 15, 2010

My first Flickr Share

I just wanted to do a little show and tell. Christie from A Lemon Squeezy Home was kind enough to share a photo of this beautiful version of the bubble dress that she made based on (and I daresay improved) my tutorial. Isn't her little model the cutest? Christie is also the very first (other than me) to share something in the Polkanuts Flickr Group. I love to see what you are making, whether it be from a tutorial I've shared or not. I hope this is the first of many. Perfect craft therapy!

Bright Star

Have any of you seen the movie Bright Star? I enjoyed it, but wouldn't say that it was a favorite. I did however, fall in love with the costumes and a few of the scenes – especially the opening scene that is a closeup of a needle and thread being pulled through the most gauzy-looking white fabric. As soon as I watched it I had the urge to sew something by hand. So, I bought some silky sheer fabric and hemmed it by hand to make a scarf. It looks pretty rough if you look closely, but the urge was satisfied. Like scratching a little itch you know?

Favorite

So you're probably tired of seeing these bags, and I wasn't going to post any more of them... BUT this one turned out to be one of my favorite combinations yet. So, this one is just for me I guess.

I've been very busy trying to organize a permanent craft/sewing space for myself in our unfinished basement. Not pretty, but hopefully functional so I'll have more time to work on projects and will spend less time pulling things out and then putting them away again so we can use our dining room table.

I've also done a number of "repeat" projects like this bag... more swaddle socks, baby burpies... that I haven't posted about.

Tuesday, June 8, 2010

Leftovers

Wonder what happened to the bottom part of this dress that I cut off in the Summer Dress refashion? Baby Girl #2 is now wearing it.

Another super easy refashion that would work using any full skirt with a ruffle at the bottom. I took the ruffled, bottom edge of my dress and cut out the button placket and then cut it exactly in half so I had two lengths that were the same. Then I decided how much lower I wanted the bottom ruffle to hang below the top tier and added that much (plus a small seam allowance) of another strip of white fabric to the top of one of the layers.
Next, you will sew each layer together with itself at the open sides (not shown). To attach the two layers you need to put the shorter (top layer) tube facing right side up inside the longer tube/bottom layer, also facing right side up. The photo above is just an example to see the layers better, but your sides will actually already be sewn together. With the top layer inside the bottom layer, stitch them together across the top as show by the orange line above.

Then, flip the shorter layer back over the top of the longer layer as shown above, and press. Make the casing for your elastic by stitching all the way around, very close to the top. Then stitch another line, far enough below the first to leave the right space for your elastic. I used 20" of 1" wide elastic to fit my daughters waist. Be sure to leave a gap (between orange dots) to insert the elastic. This will be stitched closed after the elastic is in place.

Done:
Now, bribe your daughter with candy to model it for you. That $2.50 is really getting stretched this time... and I still have some projects in mind for the remainder of the hand-me-down skirt I used in the Summer Dress refashion as well:

This detail from the yoke will probably become part of a sleeve, and the remaining lining below will be a lining/petticoat for a small girl's dress. Already hemmed. I like shortcuts!


Friday, June 4, 2010

Beach Towel Dress Idea from "MADE"

Just in time for two swimming-themed birthday parties this weekend, Dana from MADE posted this cute idea for turning a beach towel into a swimsuit cover-up dress. Dana made it for herself, but it was easy to adapt it for my daughters.

I had these towels I'd purchased on clearance to make hooded towels for my girls, but I hadn't used them all yet. Can you go wrong with pink towels when you have three girls? Right. So I bought a bunch. They are kind of thin and measure 27" by 52" wide.

I cut about 14" off the 52" length and set it aside to be used for a hooded towel later.

Then I did the shirring as Dana describes. She said she used about 5 bobbins of the elastic thread for hers. I used about 2 1/2 for this size. Shirring is so satisfying! Craft therapy indeed. I love to watch the fabric pucker as I go.

Before sewing the sides together I attached this ribbon along the bottom edge.

I used the same ribbon for the straps. I measured the length of elastic I would need, then cut ribbon 1 1/2 times as long. Then I stretched the elastic to the length of the ribbon as I sewed to get a ruffled look, and to make sure it could stretch along with the elastic. You have to hold on tight on both ends as you sew so this step was a little bit tricky.

Attach the straps and ta-da! Baby girl loves it. I left the towel width at 27" which made this a maxi dress length on my daughter. I might have to shorten it a bit for daughter number two.
Here's to a sunny, swimmy weekend. Thanks Dana!


Wednesday, June 2, 2010

Refashion: Summer Dress

I love white dresses in the summer. I've been looking for the perfect one for years... "perfect" meaning it be long enough for my tall self, have a modest cut at the top... and a number of other small details to match my personal preferences. I wouldn't say I've found perfection, but I am really pleased with how this refashion turned out.

If you read my previous post, you'll know that I've learned a few things about my cameras. These were all taken with my little point and shoot camera. I adjusted the settings and handed it to my five-year-old and told her to snap away. Yep, these two photos above were taken by my daughter with much better results than I've had from that little camera before. I also tried some Photoshop actions from The Pioneer Woman on one of them.

This one above was taken by my 3-year-old. She cut off my head, but it shows the detail of the dress a lot better than any of the others. You can see the yoked/tiered skirt look that I was going for, leaving the fullest part of the skirt below the hips.

So, on to the details of the refashion. I started with this tunic-length shirt dress that I found on clearance last fall at Kmart. See the $5 price tag? It was 50% off that. I liked some of the details, so I grabbed it. You can see where I cut it off to leave the top and a sort of yoke for the dress.


Next, I snagged this skirt from my sister's "donate" pile when she moved. The waistband was stretched out and it is only half-lined so it bunches and it is super sheer. Still, it had some nice details – especially the ruffle at the bottom. I cut it of at the yoke and gathered it to match the top of my dress and sewed the two together. Finally, I made a gauzy slip to go underneath the sheer skirt while keeping things breezy. $2.50 and 30 minutes later, I had my new dress.

Here's one of my little photographers. It was really a lovely day and a lovely view.

Camera Class

I have a confession to make. Several years ago we got a nice camera for Christmas... like entry level professional. It has been on auto ever since. I've read some of the manual and some online photography tips... but it was so intimidating. I'm better with Photoshop than I am with working my camera. But there is only so much you can do in Photoshop if you start with a poor quality photo. In three short hours, I learned more than I have in the three years since having the camera. In fact I learned that even our little point and shoot digital camera I have is capable of a lot more than I thought. What changed? I took a class, taught by my favorite photographer. It was awesome. Right on my level. Hands on. So cool. If you are in the area or can get to this area, you really should check it out. There's another class next week. I learned so much that I need to practice.

When I can stage a photo, with good light etc. things are okay. Most of the time, however, I am trying to capture a spontaneous moment with my girls, who are moving fast, with poor indoor light. Now I know a few tricks to compensate for that. For example, I learned how to make a photo that looks like this:


look like this:I'm just beginning. I love my camera more than ever. I hope my progress shows as I practice with the photos I take for this blog.