

 I've been wanting to do this little project with the girls for a while now and am feeling good about finally getting around to it today. Crafting with 4 little kids can be a challenge. (As is evident in the lack of posts on this blog.) My 5 year-old especially got into it, insisting on doing all the stuffing without any help, and she stitched the openings of each arm leg and foot closed all by herself too. I think this was her first real sewing project and I was so impressed with how well she did.
 As soon as they were finished the girls got busy dressing them with clothes and accessories from their other dolls.

 I think they turned out pretty cute, and the fact that they helped make the bunnies themselves adds to the love.


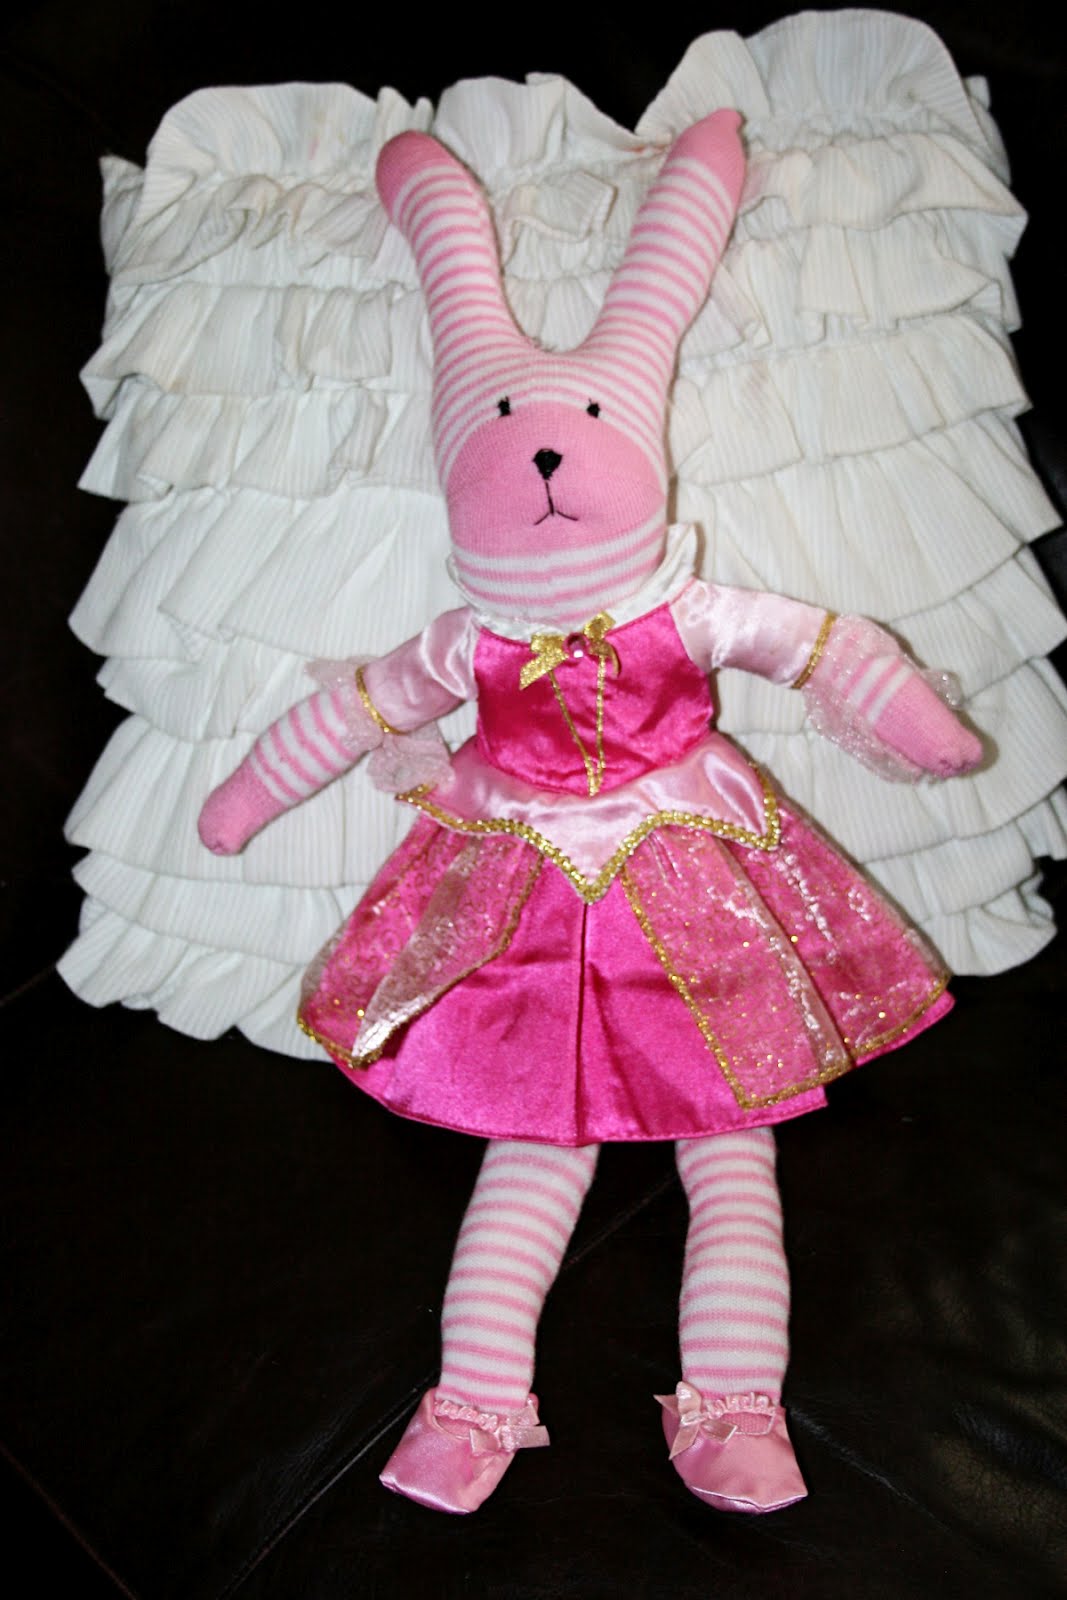 The bunnies just happen to be the perfect size to fit into our Disney princess baby doll clothes. When I saw the pink bunny in the Sleeping Beauty dress, complete with little slippers I had to take another photo.
 We followed this tutorial from Lil Blue Boo, but decided to embroider the eyes instead of using buttons. (I loved the unique look of mis-matched buttons for the eyes but the girls thought it was creepy and they insisted on eyelashes too.)
 Another wreath... a random combination of raffia, berry bunches, a fabric scrap and coffee filters. Just wanted to make something and needed to use what I had in my stash.
 My assistant and lovely wreath model.
 While the blogging has almost completely ceased since the arrival of baby boy... the crafting has only slowed a little. Will I ever catch up? Probably not, but here is a little something fun we did for the "candy holiday" – a simple Halloween wreath. We took a dollar store wreath form and tied lengths of black tulle around it. My 6 yr old and 4 year old were great helpers with this part. If I were to do it again, I might cut the tulle longer and have a fuller look. I added in some purple and orange ribbon and then hot glued this spider web (also from the dollar store) to the back, making sure I didn't cover the peep hole.
 The peep hole is important because of the number of door-to-door salesmen who don't seem to understand what "no soliciting" means. I put that sign up after being visited by 6 sales people in three days... a little much for pregnant mom/new baby mom. My dad also rigged my doorbell so I can switch it off when baby sleeps. Why isn't this a standard doorbell feature? OK, rant over.
 Happy Halloween!
 I've seen a lot of cute things in blogland made from this ruffle fabric and have been wanting to try it. Until recently it wasn't available in my local fabric shops and at $17 + a yard I didn't jump on it right away. One day I saw this XLarge top at a thrift store and grabbed it for a few dollars. I thought it would be an inexpensive way to see how I liked sewing with the ruffled material.


 I couldn't get baby girl to pose wearing her new dress and wasn't up for a power struggle over a blog post, but she does like it and looks so cute in it!
 So far our summer has been filled with as many indoor activities as I can dream up during the day, saving the outside time for the evenings when the temperature is more bearable for a cranky pregnant lady. This is one we did last week. I saw the idea on Pinterest, pinned from the blog Gluesticks... and thought it would be a good craft for the girls to help with as well as a fun way to have the older girls help baby girl learn her colors. I got the unfinished wood pegs and candle holder cups at Hobby Lobby. Even though they were pretty inexpensive to begin with, all their unfinished wood was 30% off last week... even better. The girls helped me paint all the solid colors and I finished the hair and faces after they were asleep. They've already had a lot of use. Now I just need to whip up a little drawstring bag to keep them together.
 Just one more example of using two items to make one that fits the need. I found this shirt/tunic on clearance for $7 and, of course, bought two. Again, I used the bottom half of one to elongate the other. The busy, floral print hides the seam pretty perfectly.
 The leftover top half is intended for a dress for my daughter with the pintucking detail that I am looking forward to incorporating into a bodice.
